- Open Your Project
- Use a Third Person template or your custom character blueprint.
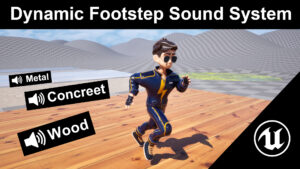
- Add a Water Volume
- In the Place Actors panel, search for Water Body → Ocean/Lake/Pond or use Physics Volume.
- Place it where you want your water.
- Make sure Collision → Generate Overlap Events is enabled.
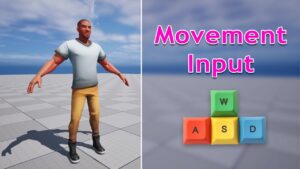
- Enable Swimming in Character Movement
- Open your Character Blueprint.
- Select Character Movement → in Movement Mode, make sure Swimming is available.
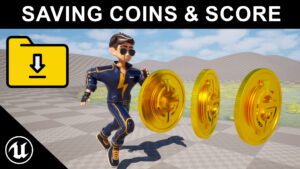
- Detect When Character Enters Water
- In the Character Blueprint, use the OnActorBeginOverlap event with the Water Volume.
- When the character enters water:
- Set Movement Mode → Swimming
- Detect When Character Exits Water
- Use OnActorEndOverlap with the Water Volume.
- When exiting water:
- Set Movement Mode → Walking
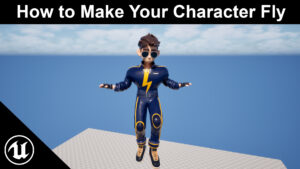
- Create Diving Mechanic
- In the Character Blueprint, add an Input Action for diving (e.g., Shift or Space).
- When pressed while swimming:
- Adjust swim speed and gravity scale for underwater movement.
- Optionally, adjust the camera to tilt downward slightly.
- Smooth Transition Between Swimming and Diving
- Blend between swimming and diving speeds using Lerp nodes in Blueprint.
- Make sure animations match swimming vs diving if you have swim animations.
- Test Your System
- Play the level:
- Walk into water → character starts swimming
- Press dive key → character dives smoothly
- Exit water → character returns to walking
- Optional Enhancements
- Add buoyancy effects
- Use Post Process effects underwater for realism
- Add underwater sounds and particles